Wednesday, 13 July 2016

Stage One completed!


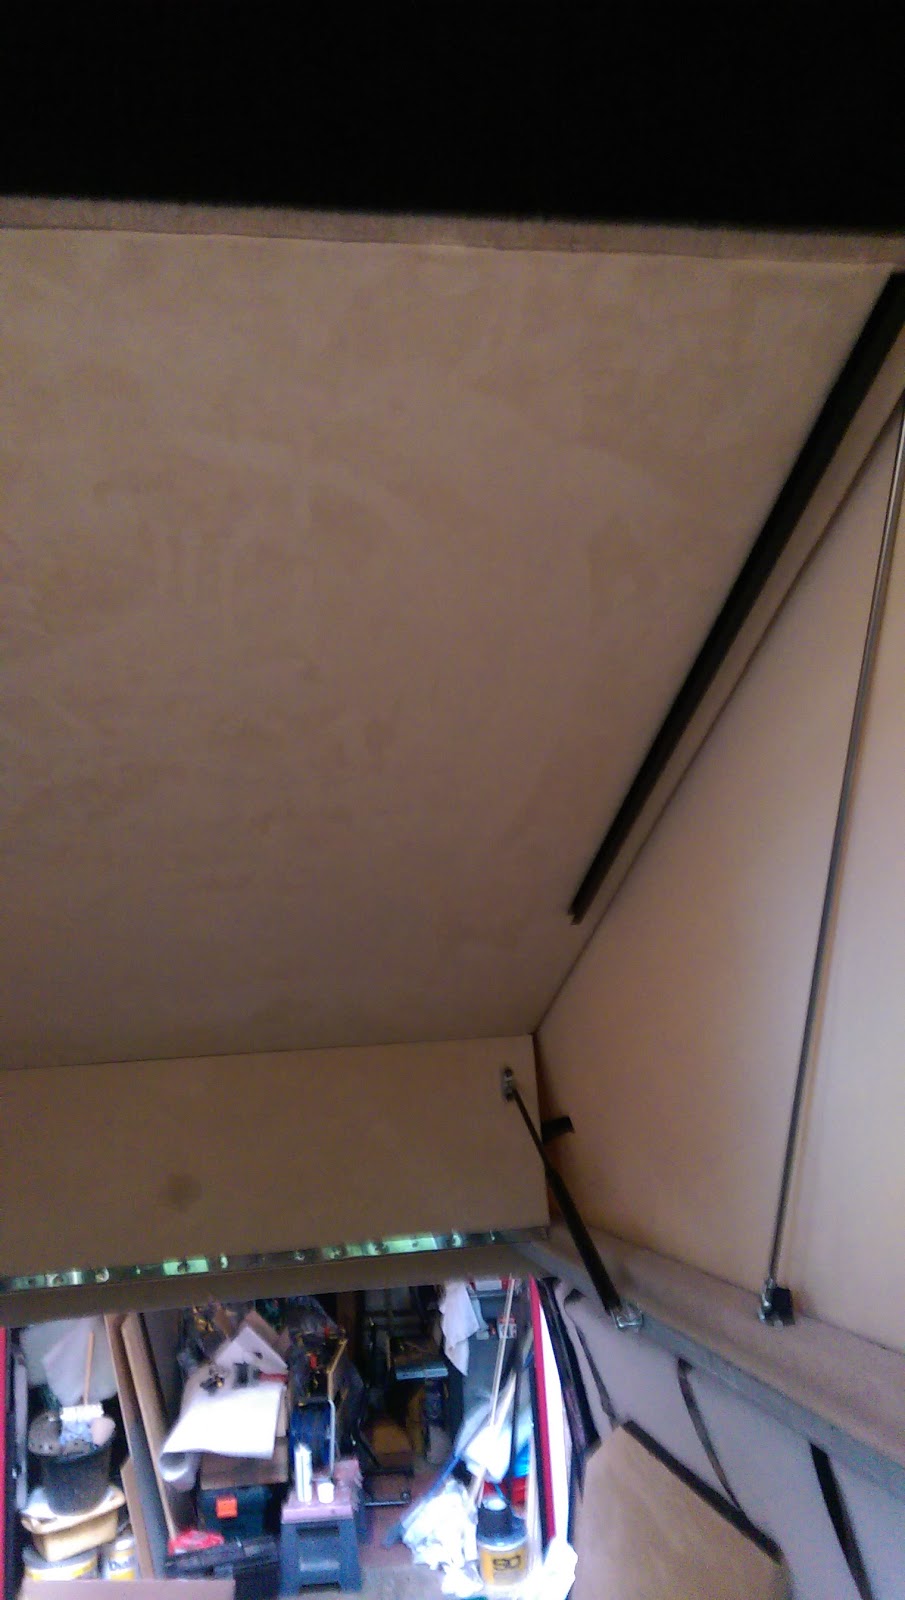
Roof bed covered in wheat carpet on top where bed will be and suede for the headlining and ready to be installed 


 And the Hatch

Bed in place! A bit of jiggery pokery needed to sort the rear bolts as the upper carpet and the lower suede put the bolt holes off a little but sorted it nicely


And gas lifts working nicely


Tuesday, 12 July 2016

Roof Bed / lining


Not a particularly good photo but head lining nearly done one small panel to go! Then it can be put back in place and closed lol.

Not a fun job couldn't tuck the edges so the cuts had to be smooth! Although playing around with some offcuts I found that a naked flame sealed the edges, so its a gamble and will have a play on some pieces to see how well it works by using a old penknife heated .........watch this space!


Rain stopped play as well today, and as I have to work outside especially using the spray glues! But on hindsight as the Van is parked in front of the garage and the garage door is always open perhaps I will throw the van cover over the the rear hatch and the garage door, couple of sticks to hold it away from the van might work!


Sunday, 10 July 2016

Little bit here a little bit there!


Finishing the 12v wiring extension dual charging fuse box stuff! I do know what I am doing just cant remember what it is actually called and cant be bothered to look! Suffice to say the main box of tricks of wires and fuses is now long enough to reach the back of the vehicle.


 Propex Heating is in place safely running the exhaust and air combustion pipework was a pain to safely make sure they avoided each other underneath the van. But it means I can put the plastic back in place which marks the end of that part of the install wooo hoooo!


VW must have saved at least 3d (thrupence! about 1 1/2p in old money) by installing a stupid little piece of plastic about a foot long, but still they can charge 68 quid to send me a full rear step cover bless!


Whats next? put the offside plastic covers back under the van and clean up the offside edge of the flooring by the seat and add some edging. Go for a 40 mile drive to get the fuel down into the red so it wont weigh to much when I drop it to fit the nearside seat!

Thursday, 7 July 2016

Some Days!


And I suppose its progress!

The roof bed is out and being covered hence the canvass is hanging down. one side carpeted the headlining (underside of the roof bed) will be foam backed faux suede. I've almost sorted the top (bedside) with carpet, just the edges to finish. then between us (my wife) will do the headlining over the weekend.


Wednesday, 6 July 2016

First Seats in!


Offside seat now bolted in place, rear view seat forward for travelling so I've got the best of both worlds. Seats close enough to hold a conversation whilst travelling but move backwards for seating around a table etc.


Seat in "camping" mode gives as a good enough space between front and rear seats without loosing rear space. Now to pluck up the courage to drop that blimming fuel tank!! ...........maybe in a few days!!


Tuesday, 5 July 2016

Time to dismantle the underside of the van!


I'm ready to fit the seats!

Moved the van over on the drive (it fits with about enough room to get past !) so I can work on the offside. I have decided to do the offside seat as that should only mean I have to remove the plastic and metal heat shields. (he thought optimistically) But I am going to have to drop the fuel tank to do the nearside.

Plastic panel removed reveals the chassis, I had to remove both the plastic ones along the nearside. But at least it shows that I might be able to fit a water tank along that side. Although my kitchen is nearside (or will be!) we'll see.

That done I found that I had to remove the metal heat shields along the middle to access the inner bolts. Was a bit of a faff, 8mm screws and a couple of those washer shaped quick fit discs that just press on. (have no idea what the are called)  They seem to be used a locating pin before the 8 mm screws are fitted. Wasn't to bad and managed to gently pull the shiled over the exhaust and out of the way.

I have a Propex heater on its way so will need access for the exhaust pipe to be run.


So time to drill the small hole to see where the bolts will run......................oh bugger! the rear nearside drill hole has disappeared! Did a bit of measuring and it seems that it is smack back in the middle of that small cross member! Moved the seats around to see if I could avoid it. In the end I decided that actually although obviously I will need longer bolts! using the cross member means I do not need metal plate reinforcement. Thought hard a long about this, but I have no choice unless I lose either floor space in the front or storage at the rear. I would have to move the seat around 4" forward or rearwards either way was not good news. move it forward limits space when all four seats are used for seating on sites or to far back to be able to make the beds. Moving it back means passenger has less of a view out of the window. Not good for the little ones! It also compromised the seat belt location as I am using the OEM mounts. It would make the positioning uncomfortable. I did try it out and it was not good!

See this is why I've been putting off fitting the seats! I knew it would be hassle! I'm guessing manufactures just move them to make life easy, but what the point of a self build if you cant set it out how you want it. 
I was trained as a panel beater back in the day and rebuilt and restored many fancy vehicles so I am happy to use the chassis rail. I'm sure someone out there will say I'm wrong!

So I need to go get some longer bolts which looks like I will have to buy the threaded rods as I cant find any bolts long enough!

The good news is the other three bolts will be easy enough to sort (I might need to drop the exhaust enough to get at the the last rear bolt).   

Offside seat in its final position below. It sits nicely inline with the C post and the seat belt fits comfortably across the shoulder. So just waiting on some shorter bolts to arrive. Boy is it a fiddle to place the seatbelt upper mount! the use of wire/ welding rod is needed to place it in position as the only access is from the bottom mount C post panel. So wire down the post attach the bracket bring it back up to the hole. As I have to cover the C post I haven't tightened it all in position as it will have to be taken off when I cover the post. But I think a couple of dabs of Sikaflex on the bracket will at least hold it in place when finally bolted up and will stay there if I ever need to remove the belt etc.


The position of the seats allows them to be moved forward for travelling enough for conversation and keeping the nearly 3 yr old grandson happy with a video player strapped to the back of the drivers seat! As long as its Thomas the Tank of course! 

Sunday, 3 July 2016

Pop Top, Solar Panel and LEDs


Took the van to Skyline Roofs for the new Poptop, Solar Panel 140watt, and 6 LED lights on Friday 01/07/16
We were looked after well taking us to and picking us up from a local Premier Inn as the van had to stay overnight for glues etc to set.
They also fitted the two van windows to the twin sliders, again excellent job. I was more happy for them to fit than myself as the sliding doors have to take a bit of a pounding when shutting!  Neat and clean job and very happy we choose only 33% tint in the end as from outside they look dark enough but no restriction for occupants when traveling

Roof open the side window comprises of mesh and internal zipped cover. Which is why it looks dark it was open!


Opens almost as high as HiLo roofs! Also had roof rails fitted at production and stronger struts if we need to use the roof to take extra things with us. We have a soft roof bag which attaches to roof rails and holds approximately 500 litres!


Solar Panel


Bed opening and view out of the new windows, next doors brickwork ! As my wife hasn't made her mind up re what lining cloth we should have except "not that flippin carpet stuff" I had them leave the fittings and woodwork uncovered. They were surprised and kept asking but they do not now my wife!!!