Wired in the double socket ( USB & 12v cigar lighter)
All powered up OK! So now have both at back of van on end unit.
Make life easier for checking rear tyre pressures and useful usb charger.
Thursday, 22 March 2018
12v supply rear of van
Friday, 16 February 2018
99% Finished!
All that's left to do is
Change over the drawer runners to the upgraded ball bearing ones X3
Seal around the edges between units and floor ( after a good clean of the floor!)
Measure up for a tailored carpet for winter use.
Make some cushions for the gap between rear seats an units. This gives another foot of leg room to the RIB seat length. Wife's just been volunteered 😇
Stick some anti slip matting in food cupboard.
Then get the DaffyDub wieghed to make sure all is well. I think it will be but just in case!
If not and I've got to lighten the load, well I've got the panel templates !!!!
And I know what I'm doing this time around!
Friday, 9 February 2018
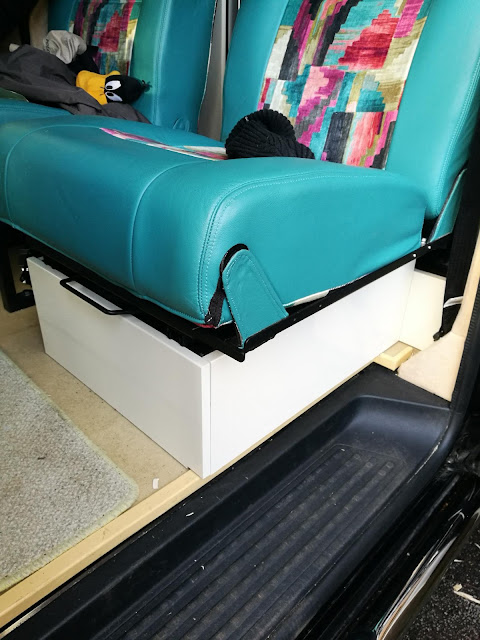
Seats boxed in & Propex Outlet
Mostly finished the boxing in of the seats and run the Propex Heater outlet today.
The seatbelt panels I am going to remove and make two longer sides which will include the battery box and propex sides, then will only need the two short sides to finish the boxing in! It'll look neater !
Wednesday, 7 February 2018
Rear 12v Sockets
I have a couple of USB sockets built into the Solar Panel but now I've mostly built over it! I thought it would be easier to have a socket easily accessible at the back of the van.
Whilst searching good old eBay came across a double socket 2 X USB and a cigarette lighter socket.
I will wire it into the auxiliary 12v box behind the unit.
Benefits for me having it at the back I can use my 12v tyre inflator. I prefer to stick to my own inflator so that I always have the same pressure reading. The supplied power cord isn't long enough to reach back of the LWB !
Oh yes enter my Daffy Duck sticker!
The Vdub has been Christened the DaffyDub due to the front thermal screen having him on the front.
Saturday, 27 January 2018
Remap of the van.
My T6 is just 102bhp but moving up to the 140bhp is silly money as you have to have other stuff which I wasn't bothered about plus it was over a grand more.
I ended up going with superchips Bluefin tech.
http://www.mybluefin.co.uk/s/faq-s
Instead of taking the vehicle in I get
To the gizmo that downloads the current mapping, I send that via my laptop to them, they send the new mapping back I download that to the gizmo. Plug it into my vehicle it uploads new remap.
Advantages are if it goes in for service and a mapping update is needed, if it reverts vehicle to original 102bhp! I let the company know upload info, download new remap!
Instead of going into a garage and paying again, most companies have limited warranty to cover.
If you ever change your vehicle you get a heavily discounted new map for your car.
The company has been around since the early 70's. So feel confident.
The difference?
As the furniture was added to the van obviously slowed down mainly a lot more gear changes. And reduction in fuel efficiency.
The remap is 170bhp. That's it, the company has spent many years sorting this and have concluded this is the best mix of power and fuel efficiency.
Only done about a hundred miles and still only have 7,200 miles on the clock. But so far, I'm happy with the acceleration. Less gear changes and oh yes stuffed it up a Audi A4 on the Mway when he tried to intimidate me whilst overtaking in the outside lane gave him a run for the money 😂😂
Mpg a bit better when flooring it in the 102bhp fuel consumption dropped to low 20's now mid 20's
and as said not run it yet!
Whole thing took more than 20 mins to do. £500 seems a lot but convenience is great and 6 months interest free this winter!
95% There!
Built the final cupboard for the offside.
We originally wanted a cover for the toilet with a seat on top. A smaller cupboard above, hiding the electrics and a space above for toiletries etc.
Ah novice mistakes!
Because of the rake of the hatch rear door sloping several inches to the top meant the cupboard above the loo box, meant the "seat" was a no go, no headroom either! Was a just going to be a seat so no big deal.
Cutting the end panel was a long careful process to get it right. But I got there in the end!
So decided on another Tambour door, expensive but very light wieght.
I had to cut about 40mm off one side to fit my unit. So used the same blade style taped the area to cut etc. But nearly had a costly mistake! Once cut and I was happy i stripped the masking tape away to find several chipped of pieces on the underside! Weather is cold so I'm guessing plastic just brittle.
Fortunately the guide rail hides the chips! Slight problem when opening as it sticks a little but I'll see over time. Just don't fancy shelling out another £70!
So all that is left to do is fit a shelf ( when the rain stops!) Box in the battery and propex heater, and finish the offside rear seat box!


